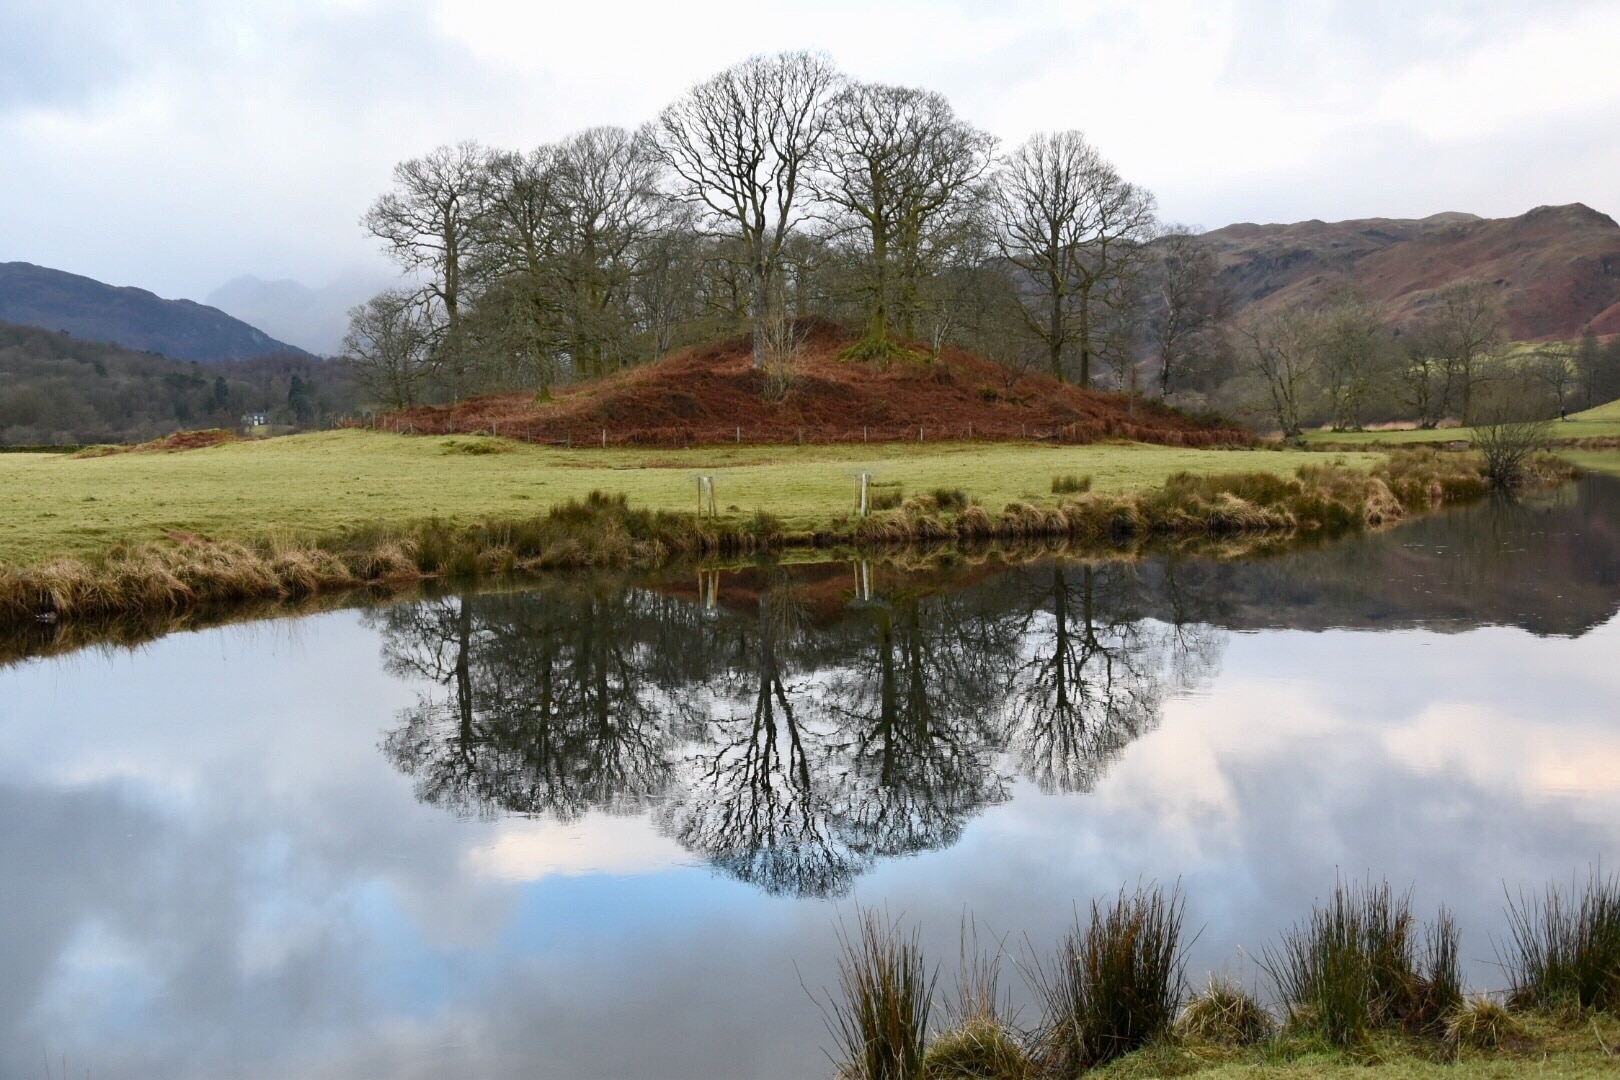
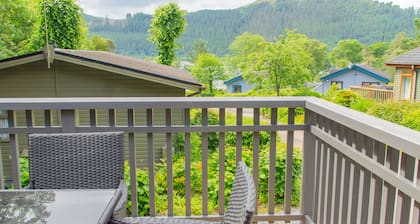
Skelwith Bridge
Travel Guide


Visit Skelwith Bridge
Reviewed on 31 March 2025

Reviewed on 1 April 2025

Reviewed on 30 March 2025

Reviewed on 6 March 2025

Reviewed on 4 January 2025
Reviewed on 30 March 2025
Popular places to visit
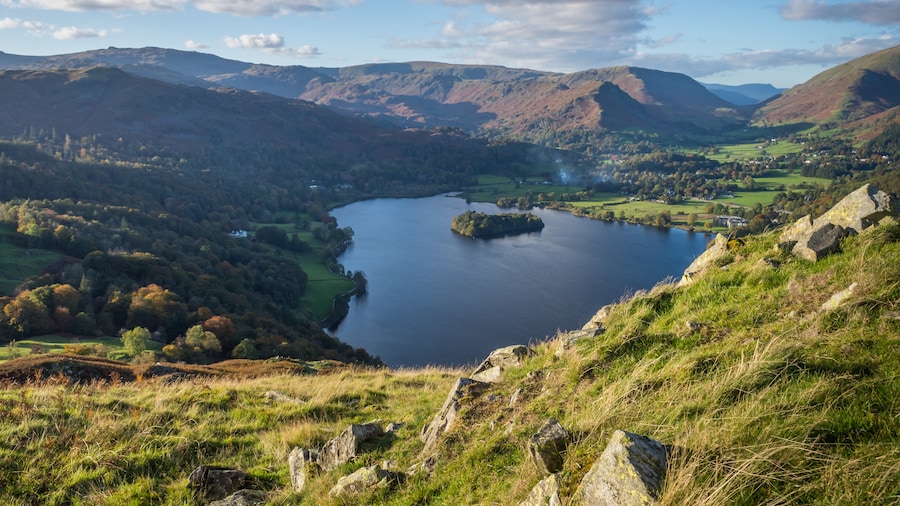
Grasmere Lake & Rydal Water
You can learn about the history of Grasmere with a trip to Grasmere Lake & Rydal Water. Stroll along the lakeside or visit the spas in this relaxing area.
Rydal Mount
Find out about the history of Rydal with a stop at Rydal Mount. Stroll along the lakeside or visit the spas in this relaxing area.
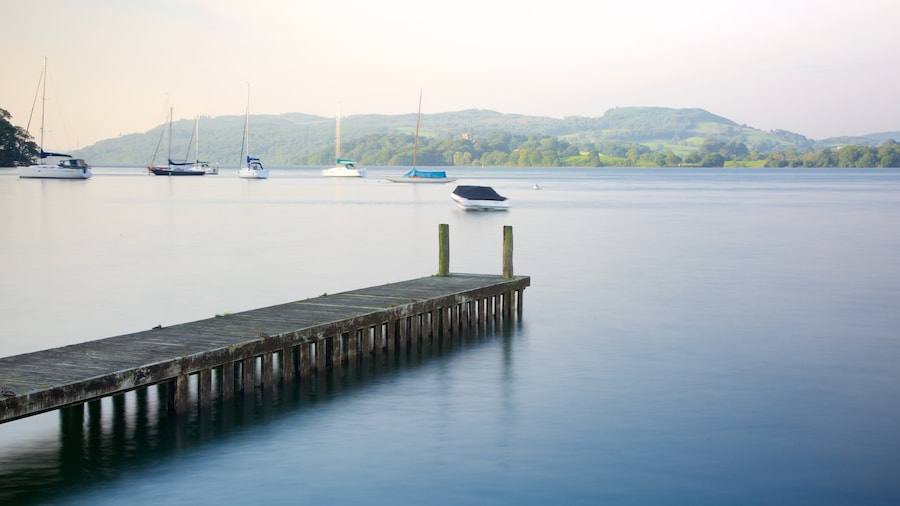
Ambleside Pier
Explore the waterfront in Waterhead with a trip to Ambleside Pier. Check out the spas and lively bars in this walkable area.
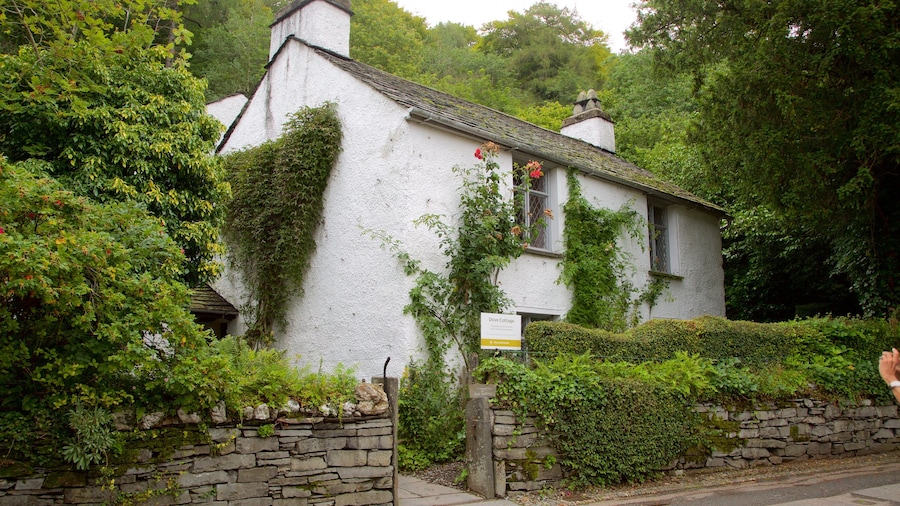
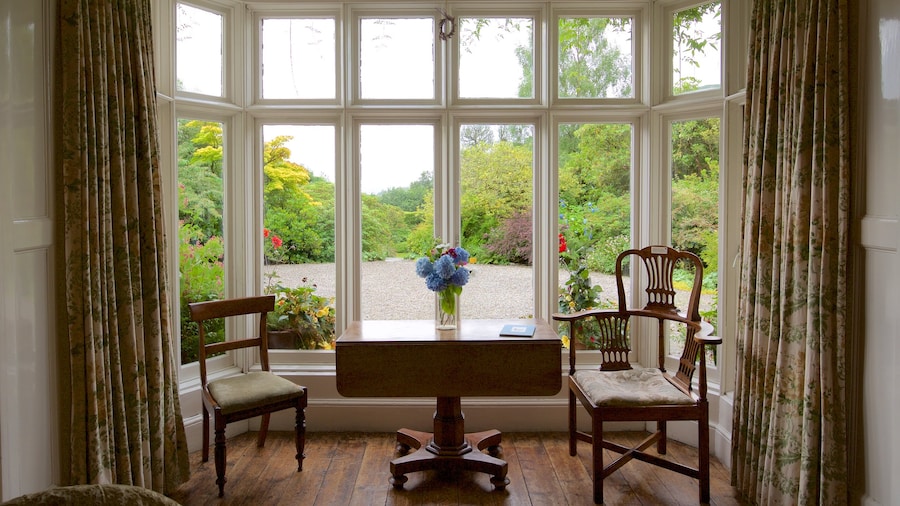
Dove Cottage
Find out about the history of Grasmere when you take a trip to Dove Cottage. Stroll along the lakeside in this relaxing area, or check out its lively bars.
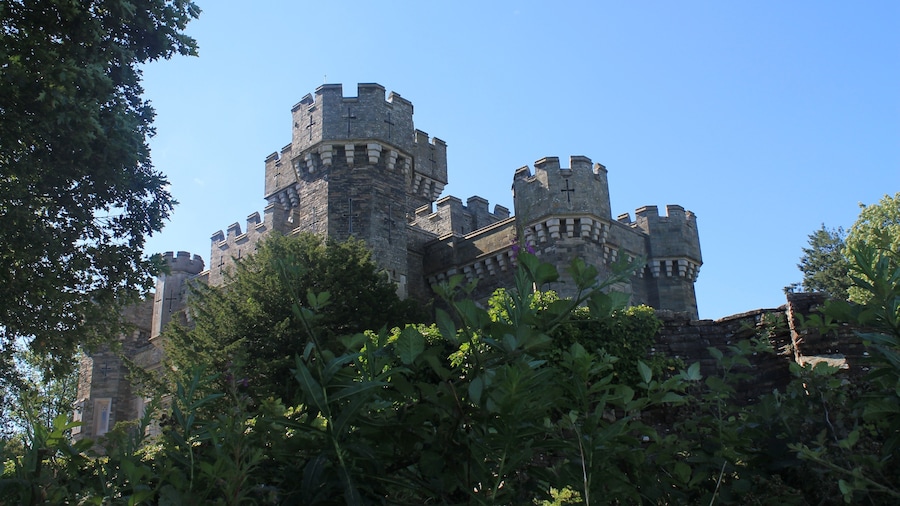
Wray Castle
You can spend time browsing the exhibits at Wray Castle in Ambleside. Stroll along the lakeside or visit the spas in this relaxing area.
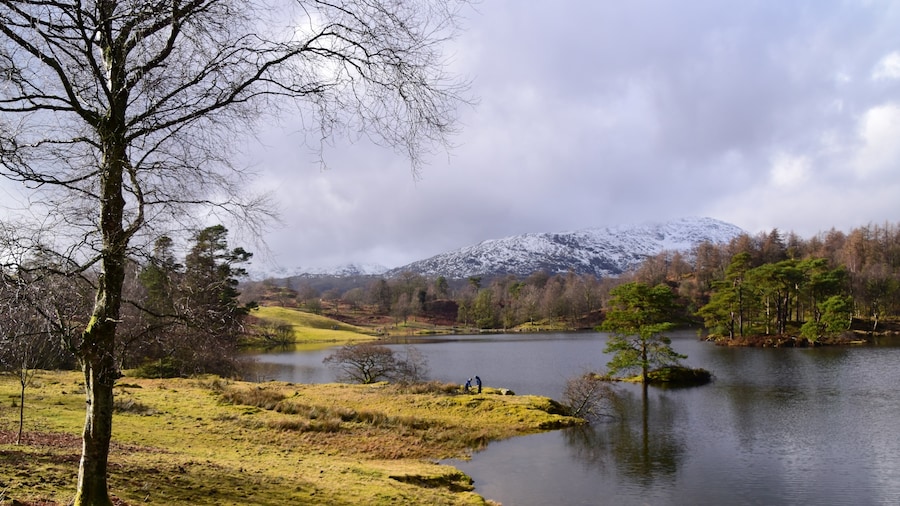
Tarn Hows
Explore the great outdoors at Tarn Hows, a lovely green space in Ambleside. Stroll along the lakeside or visit the spas in this relaxing area.
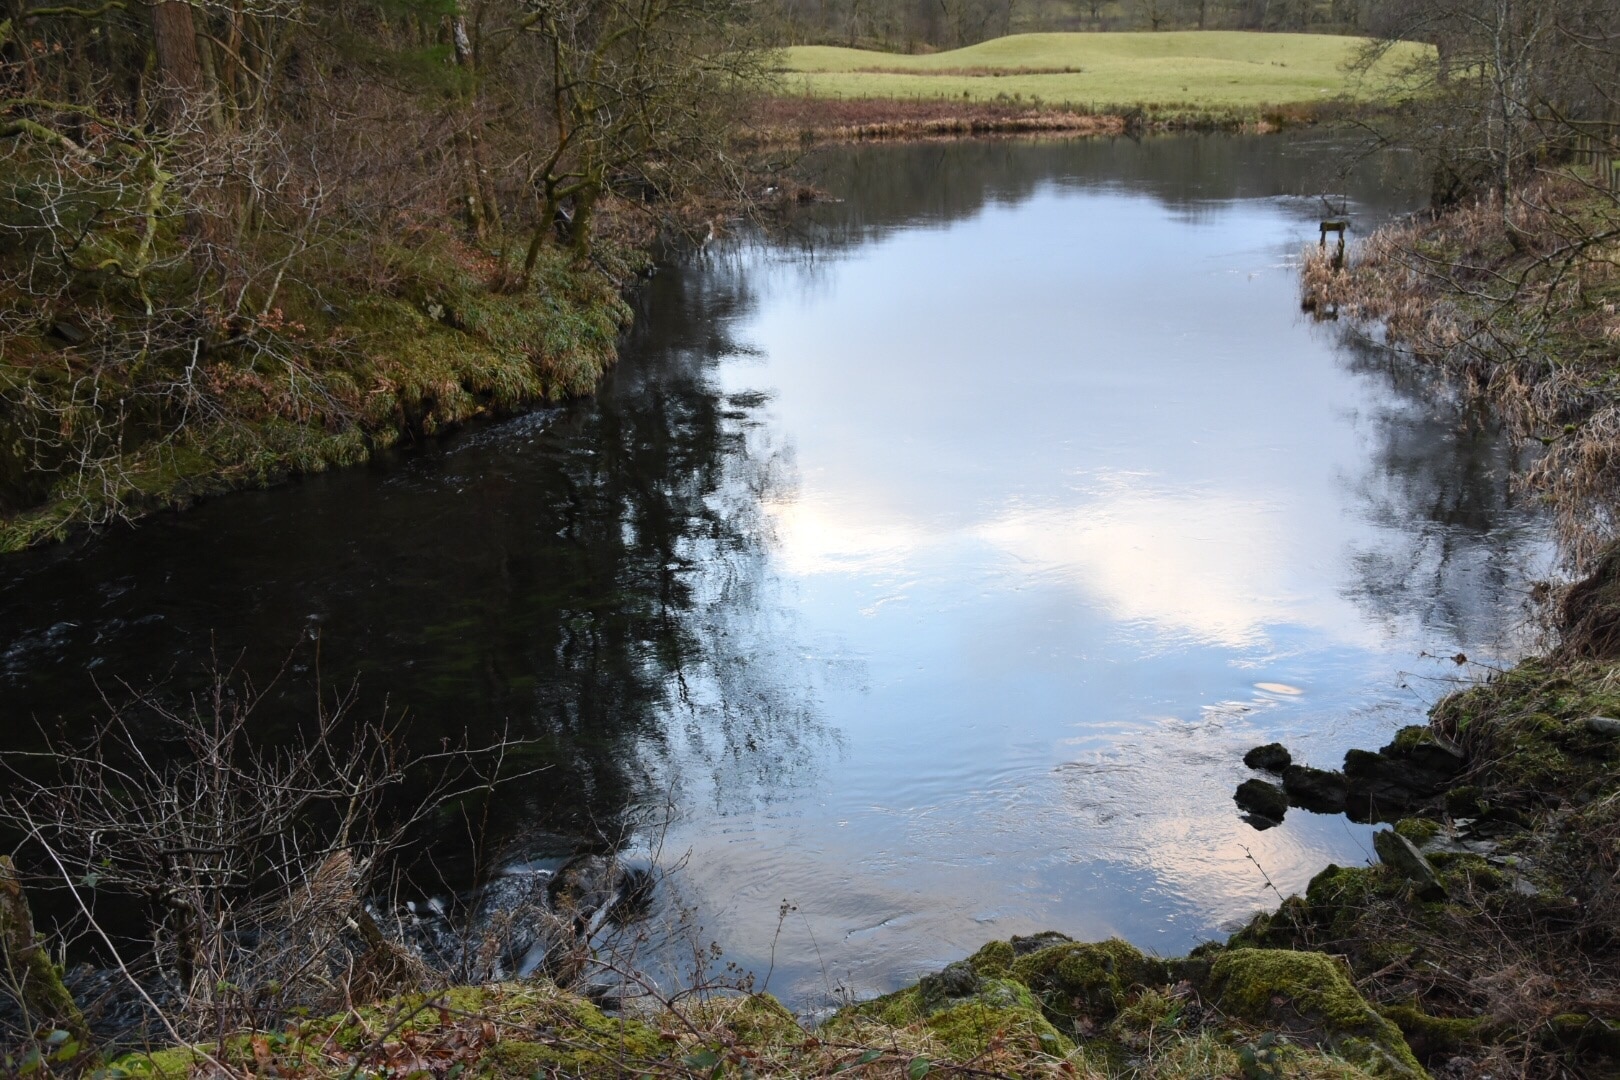
- Skelwith Force
- Yorkshire Dales National Park
- Lake Windermere
- Ullswater
- Scafell Pike
- Lodore Falls
- World of Beatrix Potter
- Derwentwater
- Coniston Water
- Grasmere Lake & Rydal Water
- Cartmel Racecourse
- Brockhole - the Lake District Visitor Centre
- Bowness Pier
- South Lakes Safari Zoo
- Buttermere Lake
- Ravenglass & Eskdale Railway
- Lowther Castle and Gardens
- Rydal Mount
- Lakeside Windermere Ferry Landing
- Catbells Lakeland Walk
- Honister Slate Mine
- Old Man of Coniston
- Ambleside Pier
- Bassenthwaite Lake
- Manjushri Kadampa Meditation Centre
- Castlerigg Stone Circle
- Dove Cottage
- Muncaster Castle
- Hill Top Farm
- Brewery Arts Centre
- Hellvellyn
- Sizergh Castle